How to Inspect and Maintain Automotive Rivets for Safety
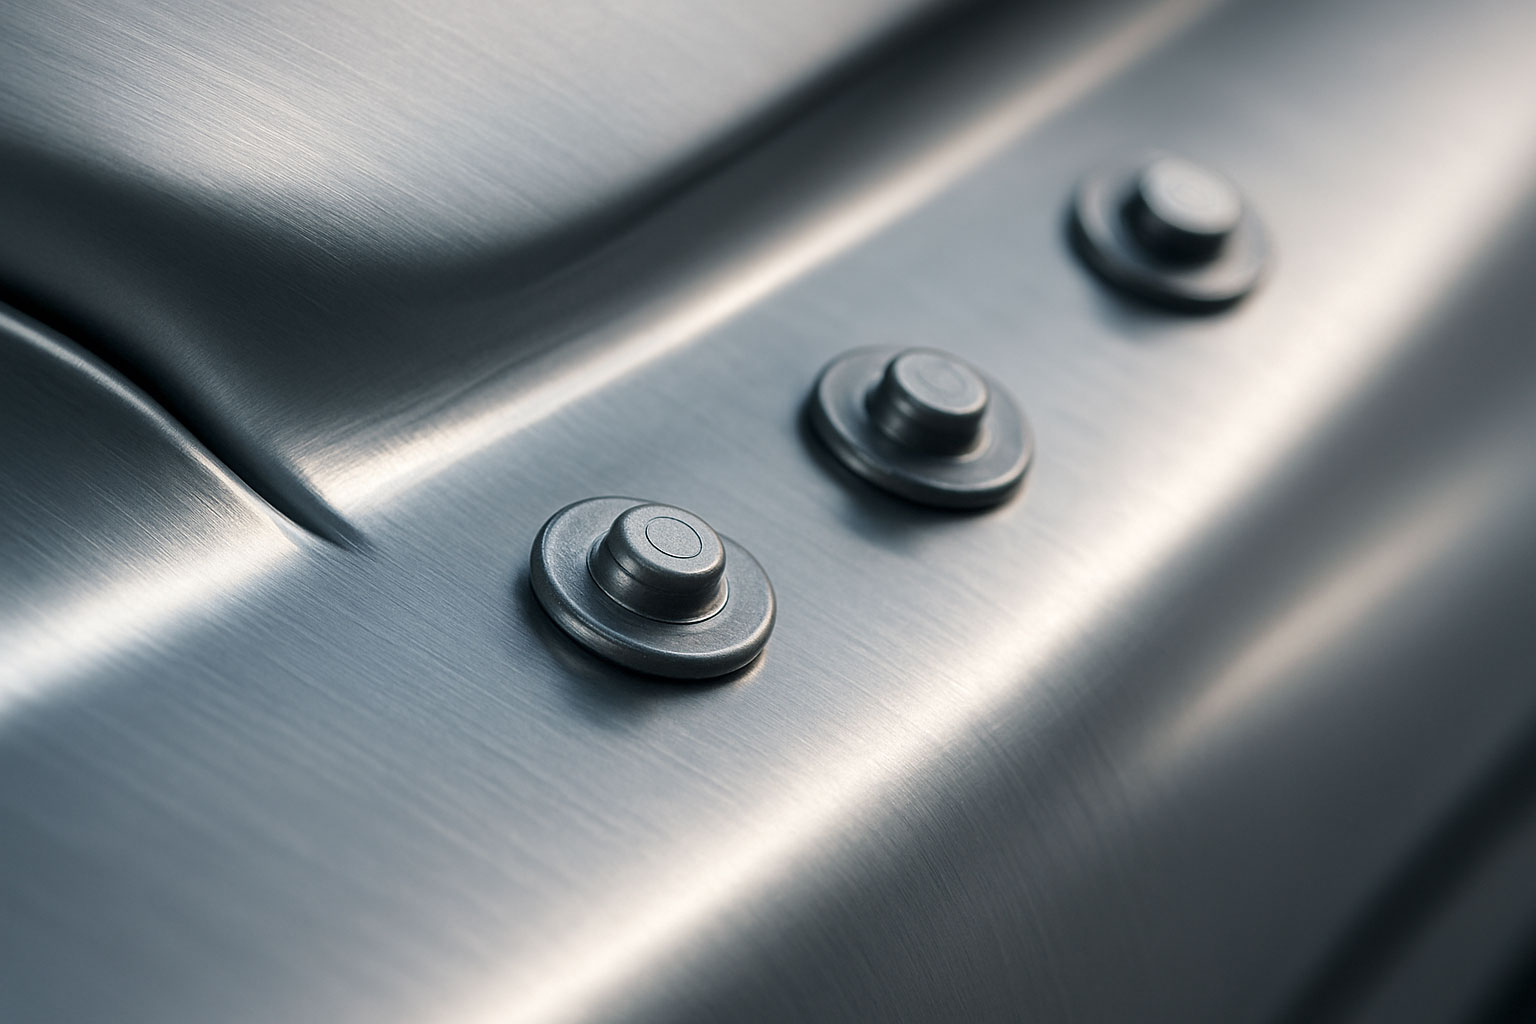
The structural integrity of a modern vehicle relies on a combination of advanced joining techniques. While welding has long been a cornerstone of automotive manufacturing, the increasing use of mixed materials like high-strength steel, aluminum, and composites has elevated the importance of mechanical fasteners. Among these, rivets, particularly Self-Piercing Rivets (SPRs), play a crucial role. Ensuring these small but mighty components are properly installed and maintained is essential for vehicle safety and performance. A failure in a riveted joint can be just as critical as a failed weld, compromising crashworthiness and overall stability.
Regular inspection and proper maintenance of automotive rivets are not just best practices; they are a necessity for any reputable collision repair facility. This process goes beyond a simple visual check. It requires a deep understanding of rivet types, installation parameters, and potential failure modes. Technicians must be equipped with the right knowledge and tools to identify issues before they become safety hazards. Unlike traditional welding, which creates a fused bond, riveting creates a mechanical interlock. This fundamental difference means the inspection criteria are unique. This guide will provide a detailed overview of how to inspect and maintain automotive rivets to uphold the highest safety standards.
The Role of Rivets in Modern Vehicle Construction
Automotive manufacturing has undergone a significant transformation. The drive for lighter, more fuel-efficient vehicles has led to the adoption of aluminum alloys and other lightweight materials. Joining these dissimilar materials presents a challenge, as traditional welding methods can be unsuitable or can weaken the materials. This is where mechanical fastening, specifically riveting, has become indispensable.
Self-Piercing Rivets are a prime example of this evolution. An SPR joins two or more sheets of material by piercing the top sheet and flaring into the bottom sheet, all without a pre-drilled hole. This cold-joining process avoids the heat-affected zones associated with welding, preserving the material’s original strength and properties. Automakers like Ford, Jaguar, and Audi have extensively incorporated SPRs into the body structures of their vehicles, particularly in aluminum-intensive models like the Ford F-150. These rivets are used in critical structural areas, including frame rails, pillars, and rocker panels.
The shift towards riveting doesn’t mean that welding is obsolete. In fact, many vehicles use a hybrid approach, combining rivets, structural adhesives, and welds to create a robust and durable body-in-white. The choice of joining method depends on the specific application, materials involved, and desired structural performance. Therefore, a modern repair technician must be proficient in evaluating all types of joints, whether they were made with advanced welding equipment or a hydraulic riveting tool.
A Systematic Approach to Rivet Inspection
A thorough inspection is the first line of defense against joint failure. Technicians should follow a systematic process that combines visual examination with tactile and, when necessary, destructive testing methods. Original Equipment Manufacturer (OEM) repair procedures are the definitive source of information and should always be consulted first.
Visual Inspection Criteria
The initial step is a careful visual assessment of every accessible rivet. This requires good lighting and a clean surface. Dirt, undercoating, or seam sealer can easily hide defects.
Key points to look for during a visual inspection include:
- Rivet Head Integrity: The head of the rivet should be flush or seated according to OEM specifications. Look for any signs of cracking, deformation, or excessive tool marks on the head. A damaged rivet head could indicate improper installation pressure or a defective rivet.
- Surrounding Material Condition: Examine the metal around the rivet. There should be no cracks, tearing, or significant distortion. Any of these signs suggest that the riveting process may have over-stressed the material, compromising the joint’s strength.
- Rivet-to-Panel Gaps: There should be no visible gap between the rivet head and the panel surface. A gap can indicate that the rivet is not fully seated, leading to a loose joint that can move under load, eventually causing it to fail.
- Corrosion: Look for any signs of rust or galvanic corrosion, which can occur when dissimilar metals (like a steel rivet in an aluminum panel) are in contact. While many SPRs are coated to prevent this, the coating can be compromised during installation or from environmental exposure. Corrosion can weaken both the rivet and the surrounding panel.
- Rivet “Button” Formation (for SPRs): On the reverse side of an SPR joint, a characteristic “button” or “die-side” formation is created. The shape and integrity of this button are critical indicators of a good joint. It should be fully formed, centered, and free of cracks. OEM procedures often provide specific dimensional tolerances for the button’s diameter and height.
Non-Destructive and Destructive Testing
While visual inspection is fundamental, it may not reveal all potential issues. In some cases, particularly after a collision repair, further testing might be necessary to verify joint quality.
Non-destructive methods include using a small chisel or probe to gently test for any movement between the joined panels near the rivet. If there is any play or looseness, the joint is compromised. Some OEMs may specify using a feeler gauge to check for gaps under the rivet head.
Destructive testing is typically used as a quality control measure during the setup of riveting equipment or for process validation, rather than for inspecting a finished vehicle. It involves creating sample joints and then pulling them apart to analyze the failure mode and measure the joint’s strength. This ensures that the riveting tool, which is a key piece of welding equipment in a broader sense of joining technologies, is correctly calibrated for pressure and cycle time. The results are compared against OEM standards to confirm that the repair process meets safety requirements. This type of testing validates that the technician and their tools can replicate a factory-quality joint.
Maintenance and Repair Procedures for Riveted Joints
When a defective rivet or a compromised joint is identified, it must be addressed according to proper repair procedures. Simply replacing a single rivet is often not enough; the entire joint area must be assessed. The process for removing and replacing rivets is precise and requires specialized tools.
The first step is rivet removal. Using a standard drill bit is generally not recommended, as it can enlarge the hole, generate excessive heat, and damage the panels. Instead, specialized SPR removal tools or cutters are used. These tools are designed to remove the rivet head and shank without compromising the surrounding material.
Once the old rivet is removed, the panels must be prepared for the new one. This includes cleaning the area and ensuring the panels are properly aligned and clamped. Any structural adhesives that were part of the original joint must be reapplied as specified by the manufacturer. Using the correct riveting tool with the proper die set and pressure settings is critical. Just as with specialized welding equipment, using the wrong settings on a riveting gun can result in a faulty joint that is weaker than the original. Technicians must be trained on the specific riveting system they are using to ensure every replacement is performed correctly.
The advancement in vehicle materials means that modern collision repair shops must invest in a wider range of tools. The inventory no longer just consists of welders and frame machines. It must now include sophisticated riveting systems, adhesive applicators, and specialized welding equipment designed for brazing and working with exotic metals. Ongoing training is equally important to keep technicians up-to-date with the latest OEM procedures and joining technologies.
Final Analysis
The integrity of an automotive body structure is only as strong as its weakest joint. As riveting becomes more prevalent in vehicle design, the ability to properly inspect, maintain, and repair these joints is a non-negotiable skill for collision repair professionals. A thorough inspection process, guided by OEM procedures, is the foundation of a safe and durable repair. It involves more than a quick glance; it requires a detailed examination of the rivet, the surrounding material, and the geometry of the joint itself.
For repair facilities, this means investing in the right tools and, more importantly, in the continuous education of their technicians. The skills required to weld high-strength steel are different from those needed to install a self-piercing rivet in an aluminum panel. By embracing these new technologies and adhering to rigorous inspection and maintenance protocols, the automotive repair industry can ensure that every vehicle leaving the shop is restored to its pre-accident safety standards, protecting drivers and passengers on the road.

ABOUT THE AUTHOR
Carrozzieri Italiani Editorial Team
Guides, practical advice and editorial contributions from the Carrozzieri Italiani team.
More stories by Carrozzieri Italiani Editorial Team ↗CONTINUE READING
Posts You Might Like
How Vehicle Design and Defective Components Can Contribute to Serious Car Accidents
A driver can do everything right and still end up in a hospital bed because a tire tread separated at highway speed. Federal crash investigators have spent decades tracing a measurable share…
Read story
How Automotive Induction Heaters Improve Speed and Safety in Collision Repair
Collision repair has long relied on open-flame torches to loosen rusted bolts, soften adhesive, and free stuck body panels, but that approach carries real tradeoffs. Flame-based heating is slow to control precisely,…
Read story
The Key Stages of a Professional Vehicle Paint Repair
Vehicle paintwork has to cope with stone chips, minor collisions, scratches, weather exposure, and everyday wear. When damage occurs, achieving a professional result involves far more than simply spraying fresh color over…
Read story
Il veicolo urbano dopo il viaggio: cosa distingue davvero un buon design per la città
Per gran parte della storia dell’automobile, il progetto di un veicolo è stato raccontato attraverso ciò che accade durante la guida: la velocità, la linea del cofano, il comportamento in curva, la…
Read story
THE CONVERSATION
Comments 0
Share a memory, a period photograph or a documented detail about this story.